Back to Blog
The Art of Rapid Prototyping: Techniques and Tools for Bringing Your Ideas to Life
July 6, 2023
Rapid Prototyping to Bring Your Product to Life
In today’s fast-paced technological world, bringing ideas to life as quickly and efficiently as possible has become increasingly important. Rapid prototyping has become an essential tool for designers, engineers, and inventors alike. The Rapid prototyping process allows you to create a physical model of your idea, allowing you to test and refine it before committing to a full production run.
In this blog post, the Fortec US team explores the techniques and tools used in rapid prototyping, so you can start bringing your ideas to life:
1. Sketching and Ideation
The first step in rapid prototyping is sketching and ideation. This involves brainstorming, sketching, and developing your idea on paper – creating a rough concept of what you want to make. This step is essential in the rapid prototyping process as it sets a clear direction and vision for your projects. Sketching and ideation could be done traditionally with pencil and paper or digitally using graphic design applications.
2. 3D Modeling
Once you have clarity on your concept, it’s time to start developing the physical model of your product using 3D modeling software. 3D modeling allows you to create a detailed digital representation of your idea, giving you the flexibility and opportunity to make changes before moving onto the prototyping stage. 3D modeling requires a learning curve, but it’s worth the time investment because it provides accuracy, speed, and flexibility in your design process.
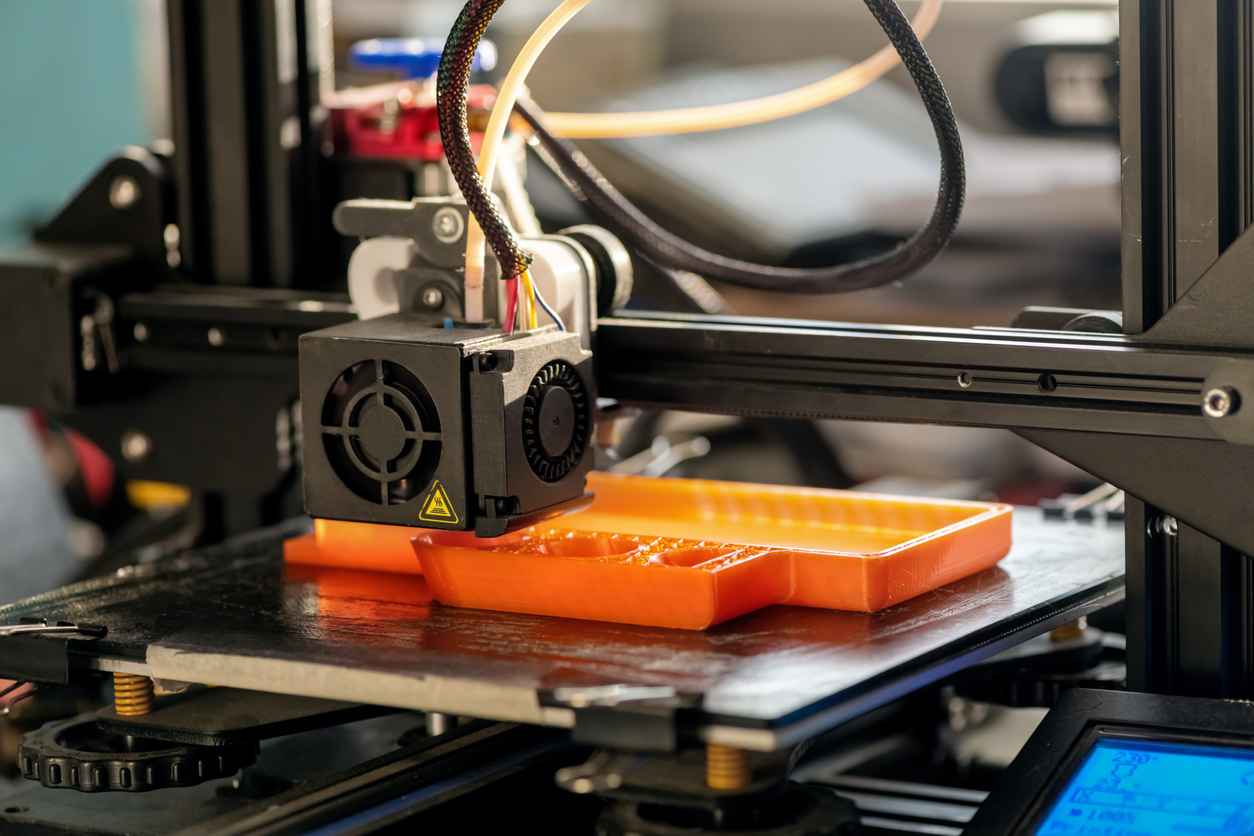
3. Prototyping
After designing the 3D model, it’s time to 3D print or manufacture a prototype to test and refine your design. In this stage, your concept becomes tangible, and you can see your idea coming to life. Regarding rapid prototyping, 3D printing has revolutionized the manufacturing world. 3D printing provides faster and cost-effective options for creating prototypes using materials ranging from plastics, metals, ceramics, and even food. Other prototyping techniques include CNC machining, injection molding, and laser cutting. Choosing the right prototyping method depends on your design, budget, and production goals.
4. Testing and Refinement
Once you have your prototype, it’s time to test and refine it. This stage involves installing necessary components and conducting user testing to analyze your product’s performance and usability. Testing allows you to identify any potential issues to solve beforehand, making the final product more reliable. During refinement, you may need to make some design tweaks, adjust dimensions, and improve materials. Testing and refinement may take several iterations and require additional prototyping until you achieve your desired product.
5. Production
After testing and refinement, you can now move to the production stage to create a full-scale product. The production process requires a streamlined assembly line, quality control procedures, and material management. Prototype production may involve different vendors, suppliers, and stakeholders, so it’s essential to keep communication channels open and ensure all parties work as a team.
Contact Us Today to Learn More About Our Custom Digital Screen Solutions!
As the global leader in optical bonding, Fortec US supports you in all project phases – from the construction of the metal housing and procurement of specific parts to the in-house development of controller boards and touchscreen integration. In need of a product, part, or have a project in mind? Contact us today at (631) 580-4360 or on our website for more information.

Leveraging IoT for Business Efficiency and Innovation
July 3, 2024

Custom Optical Bonding Solutions for Unique Display Requirements
July 1, 2024

Choosing the Right Touchscreen Monitor for Your Business
June 27, 2024

The Impact of Touchscreen Technology on Workplace Efficiency
June 4, 2024

The Cost-Effective Benefits of Optical Bonding
June 4, 2024

How Heat Affects Your Electronics
May 31, 2024

Innolux Innovation: Exploring the Latest LCD Display Solutions
May 7, 2024
Newsletter Signup
Sign up to our monthly newsletter to keep up to date with all the latest product news, industry updates and new developments.